QueryManager
What is QueryManager
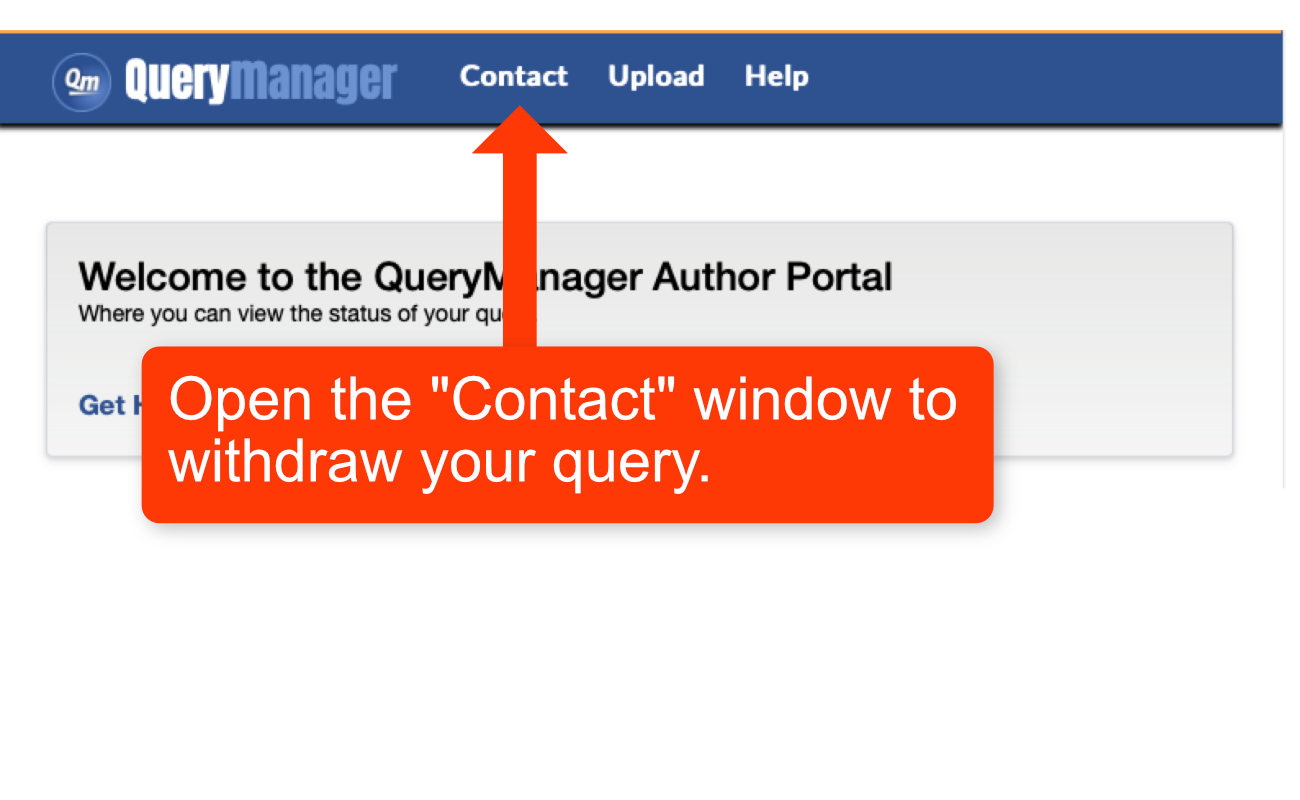
QueryManager is a web tool that allows agents to easily receive and manage the queries authors send them. To learn more, visit QueryManager.
Instead of emailing a query letter to an agent, authors fill out a simple online form instead. This method of delivery creates several advantages for both the agents and the authors.
Advantages for Authors
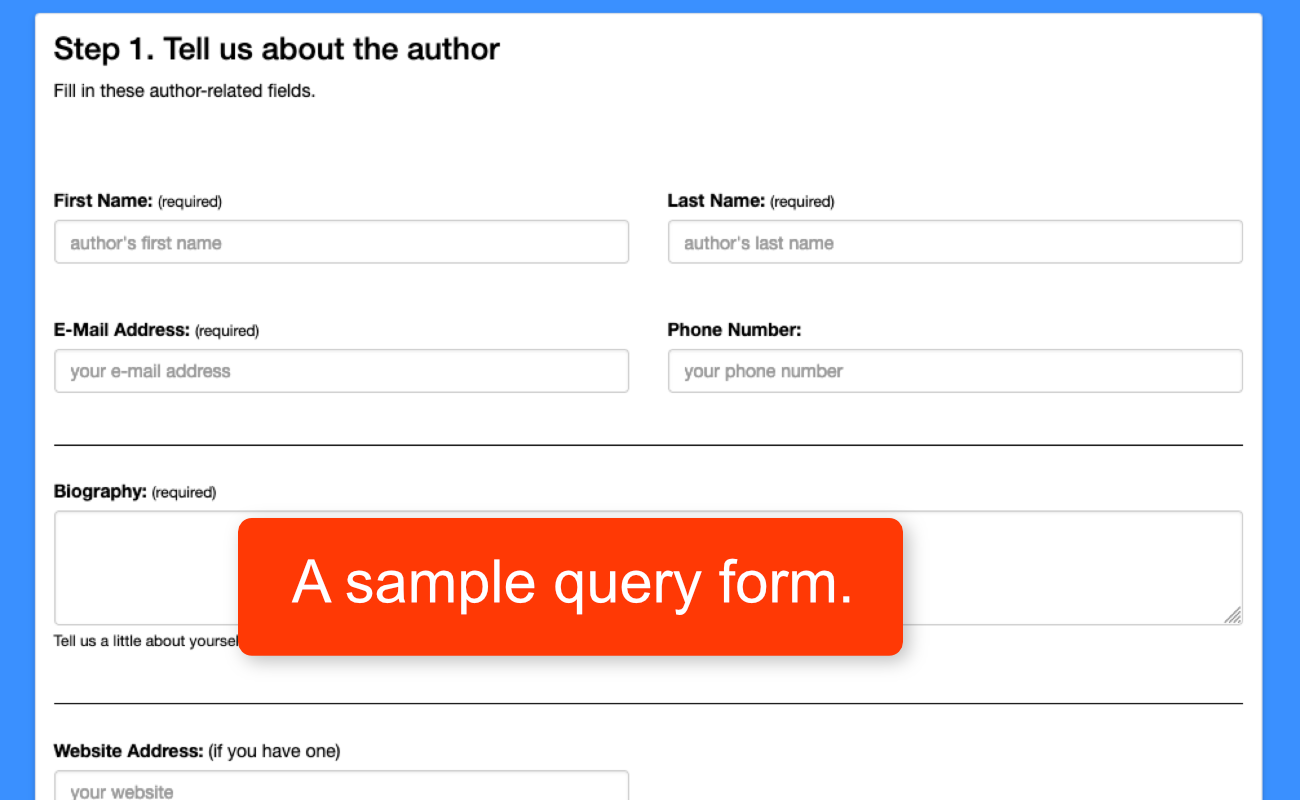
- No more trying to track down what an agent wants with a query. Everything required is spelled out right on the form.
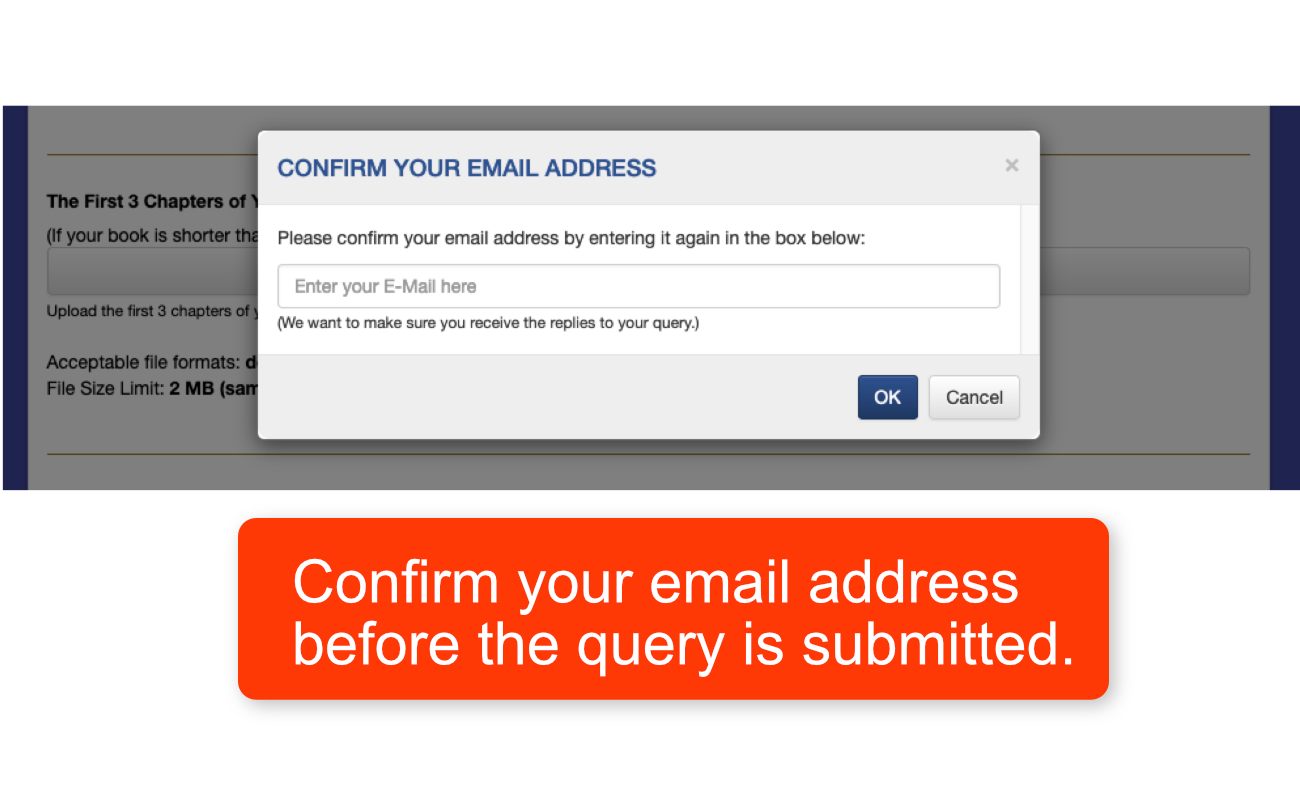
- No more guessing if your email made it to the agent. Was it bounced? Go unread in spam? Or end up in some virtual black hole? QM gives authors instant verification of query delivery.
- Because it is so easy for agents to respond using QM, query replies are faster and more common.
- Free, and no account is required.
Advantages for Agents
- Since queries are contained in an organized database, agents can sort, filter and locate queries faster and easier.
- Agents can reply to queries with just a few clicks.
- Agents control when they are open or closed to queries, so they won't get queries when they're closed.
- Free to use.
What's the Difference Between QueryManager and QueryTracker?
QueryManager and QueryTracker can work closely together, but they are two separate sites with two very different uses.
QueryManager
QueryManager is used by agents and publishers to manage all the queries they receive. Only agents and publishers have accounts on QueryManager. Authors can send queries to the agents/publishers using QueryManager, but authors don't have accounts. No account is required to send a query.
QueryTracker
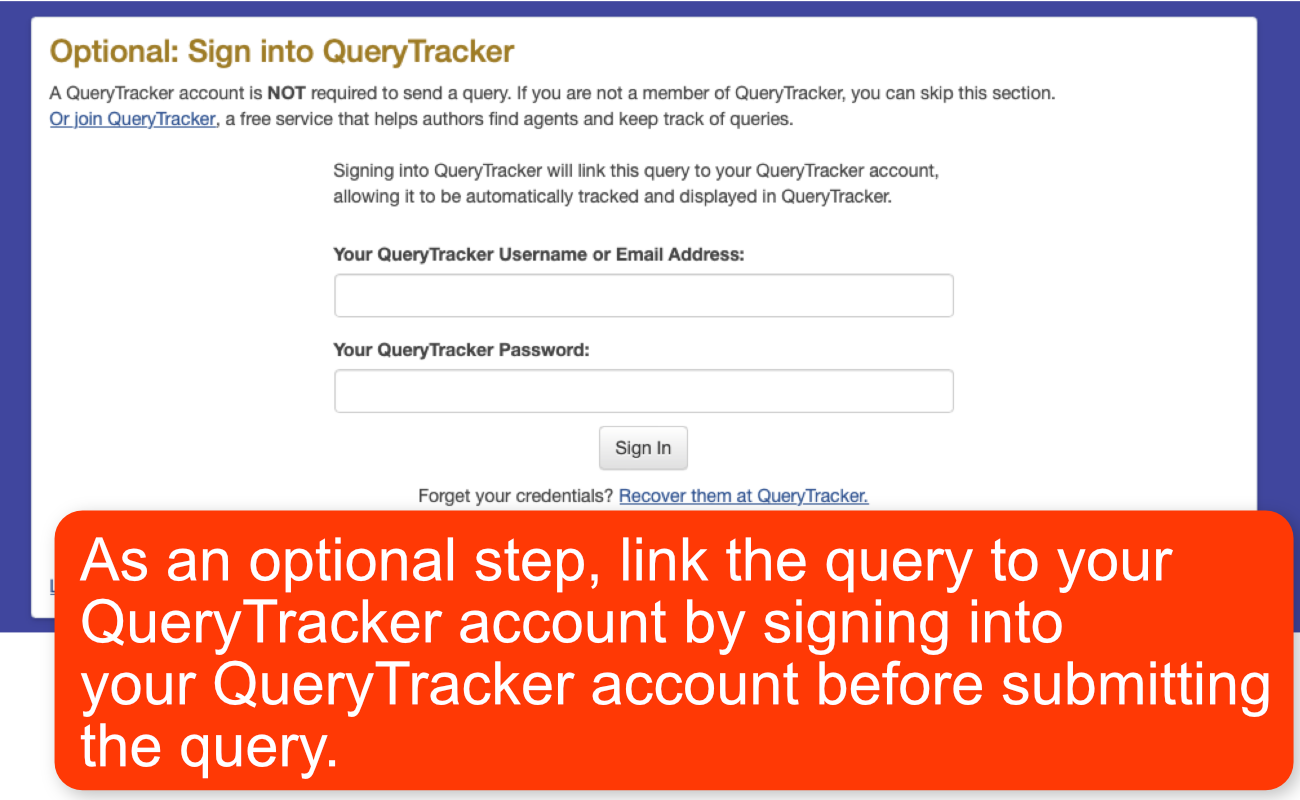
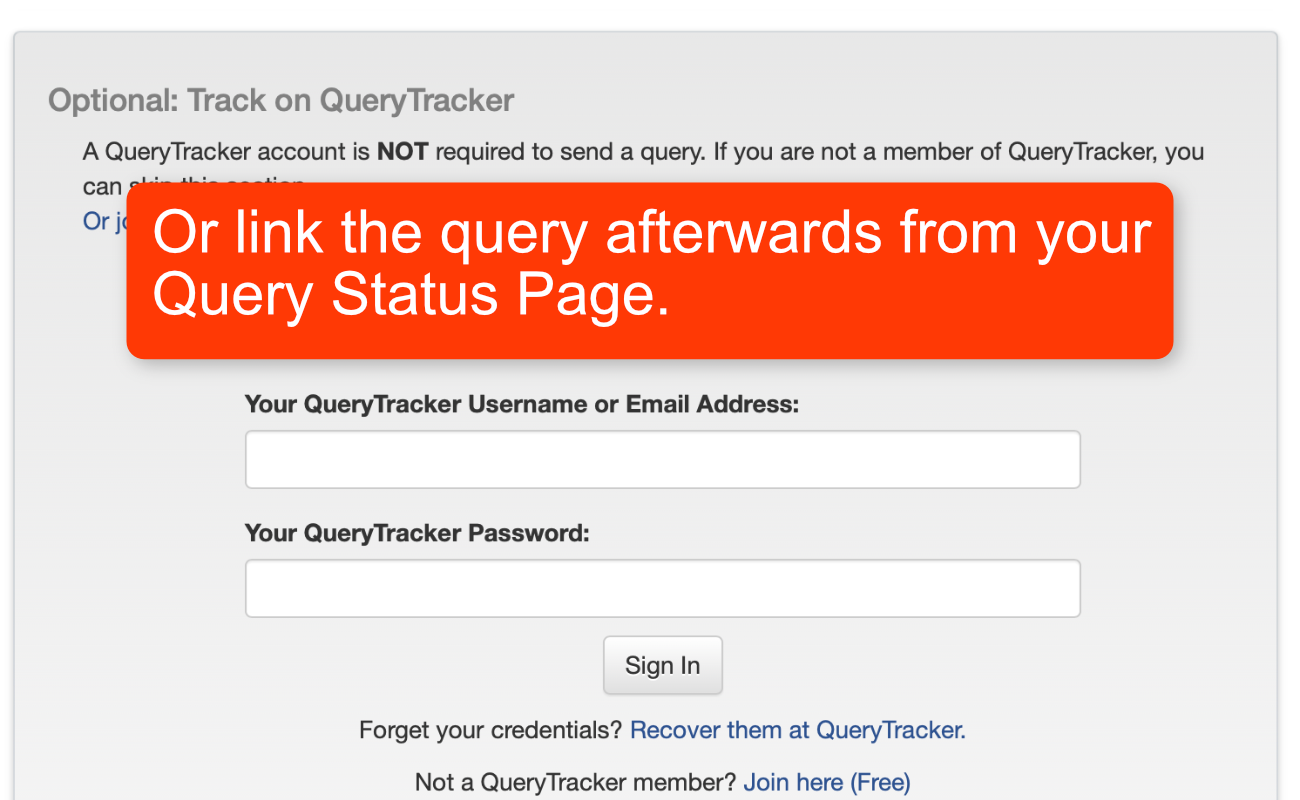
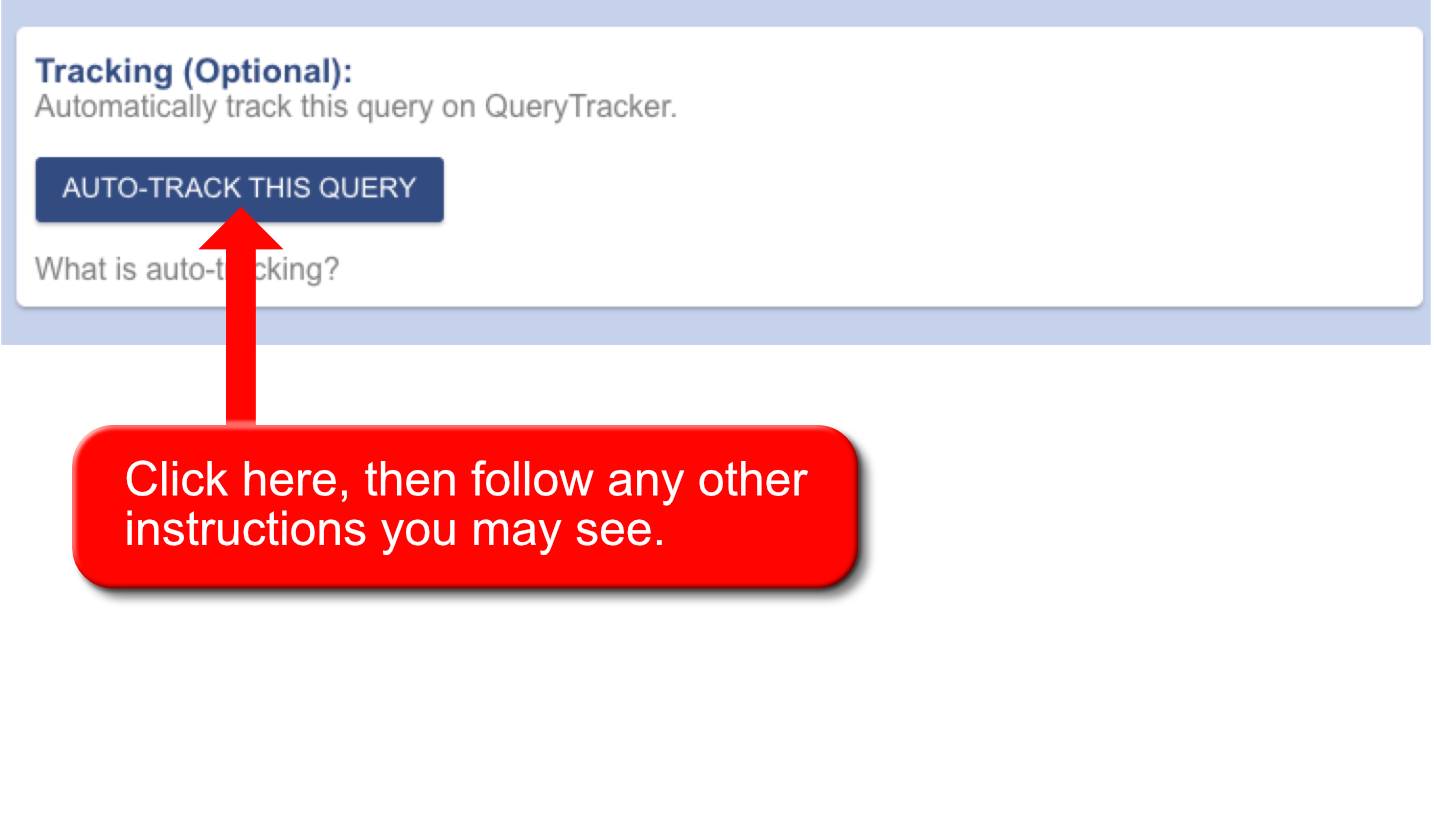
Authors can have accounts on QueryTracker, which, among other things, is used by the authors to keep track of all the queries they send out. Typically, whenever an author sends a query, or receives a reply about a query, the author is responsible for manually inputting that information into the QueryTracker. But, if the query was sent through QueryManager, then that query can be linked to an author's QueryTracker account which allows the query to be tracked automatically.

Uploading Files
There are two different situations where you may need to upload a file to QueryManager.
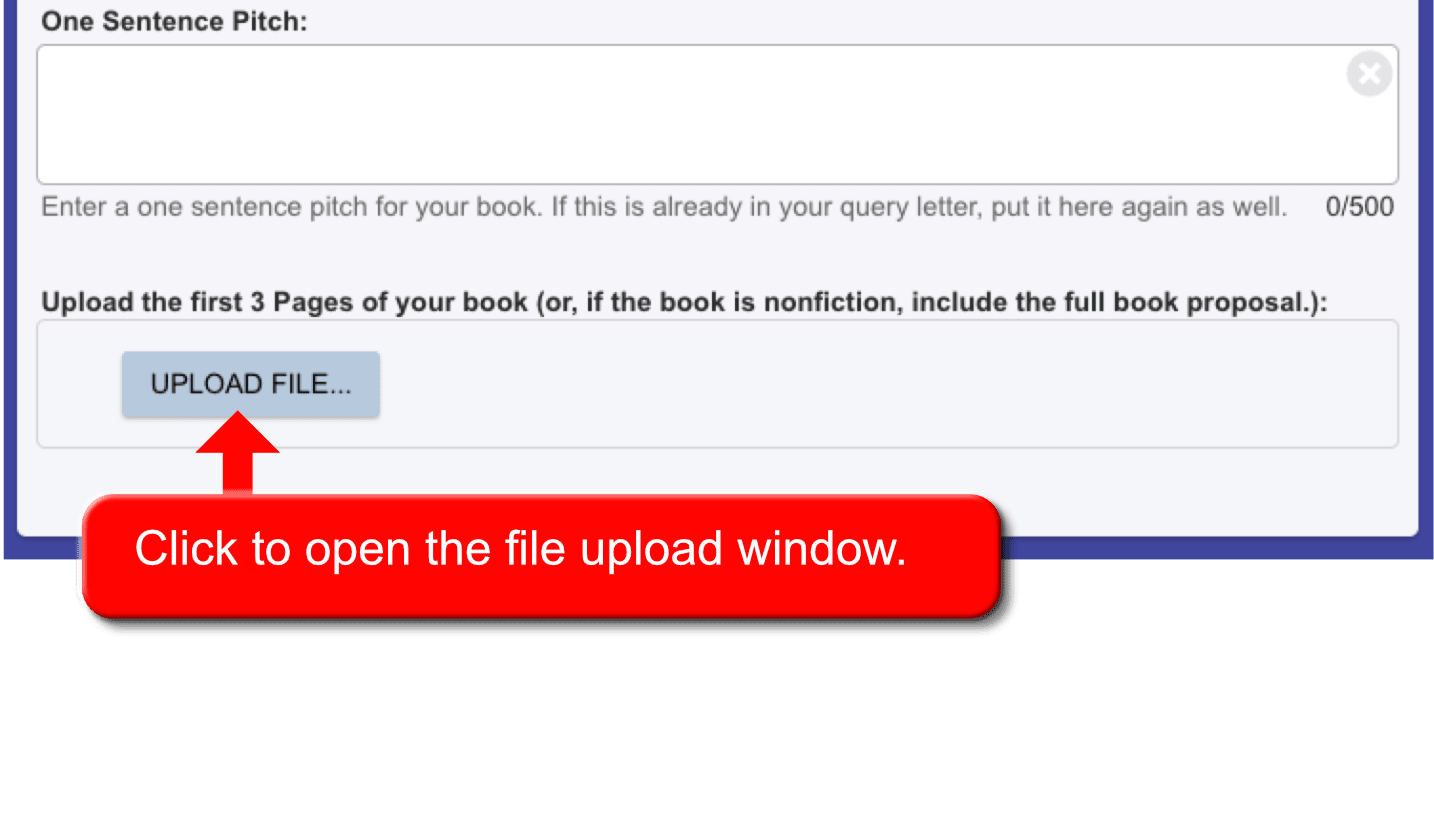
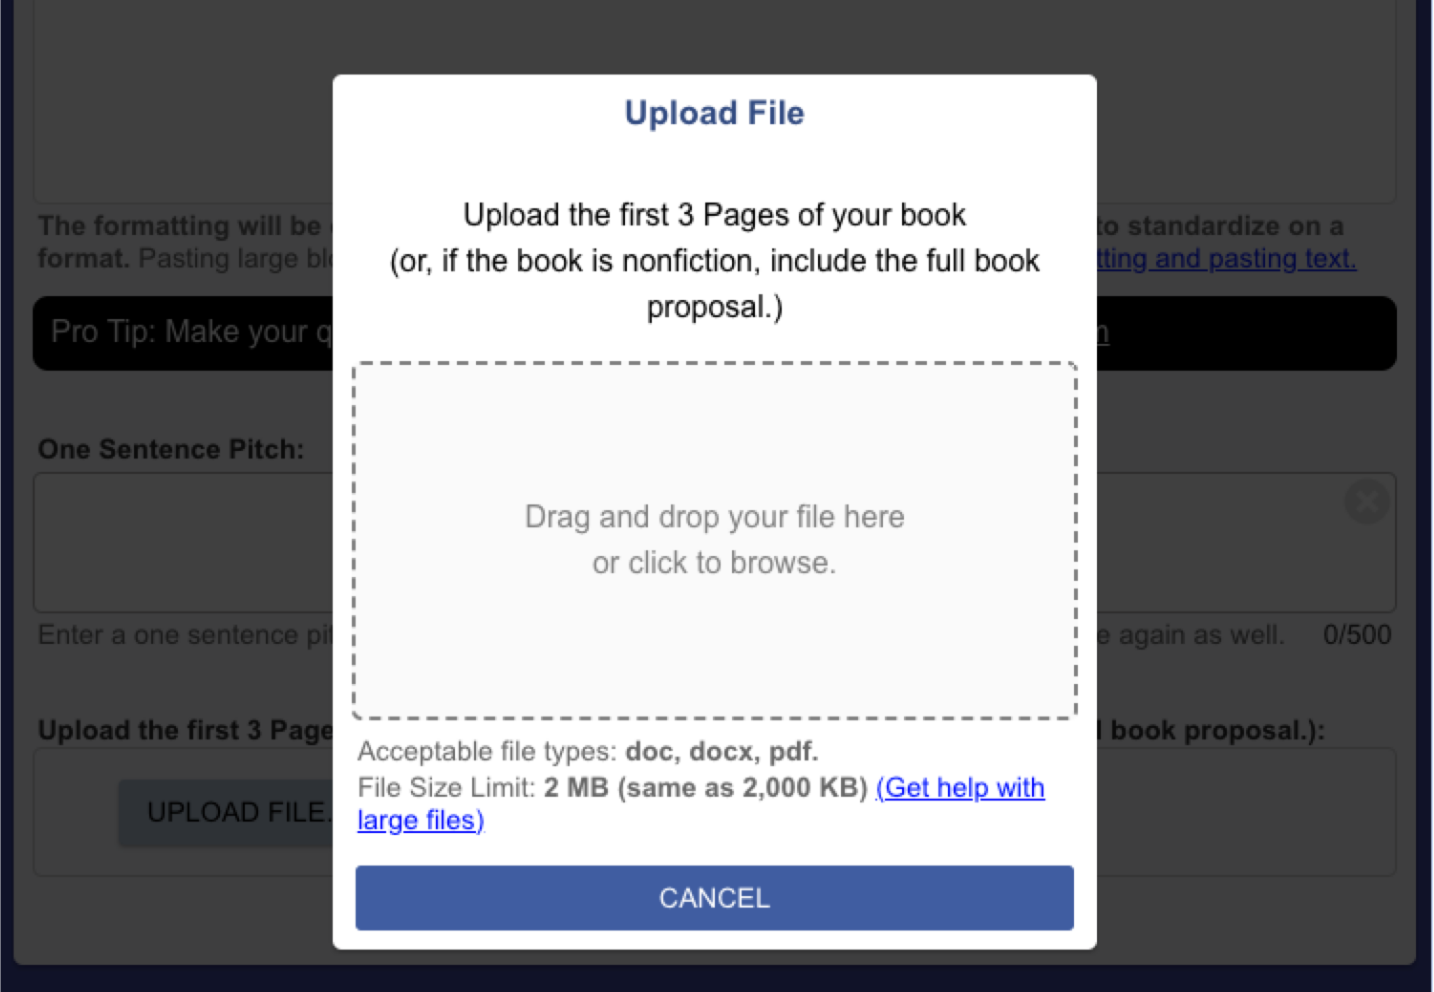
- If the agent requests a file with the initial query.
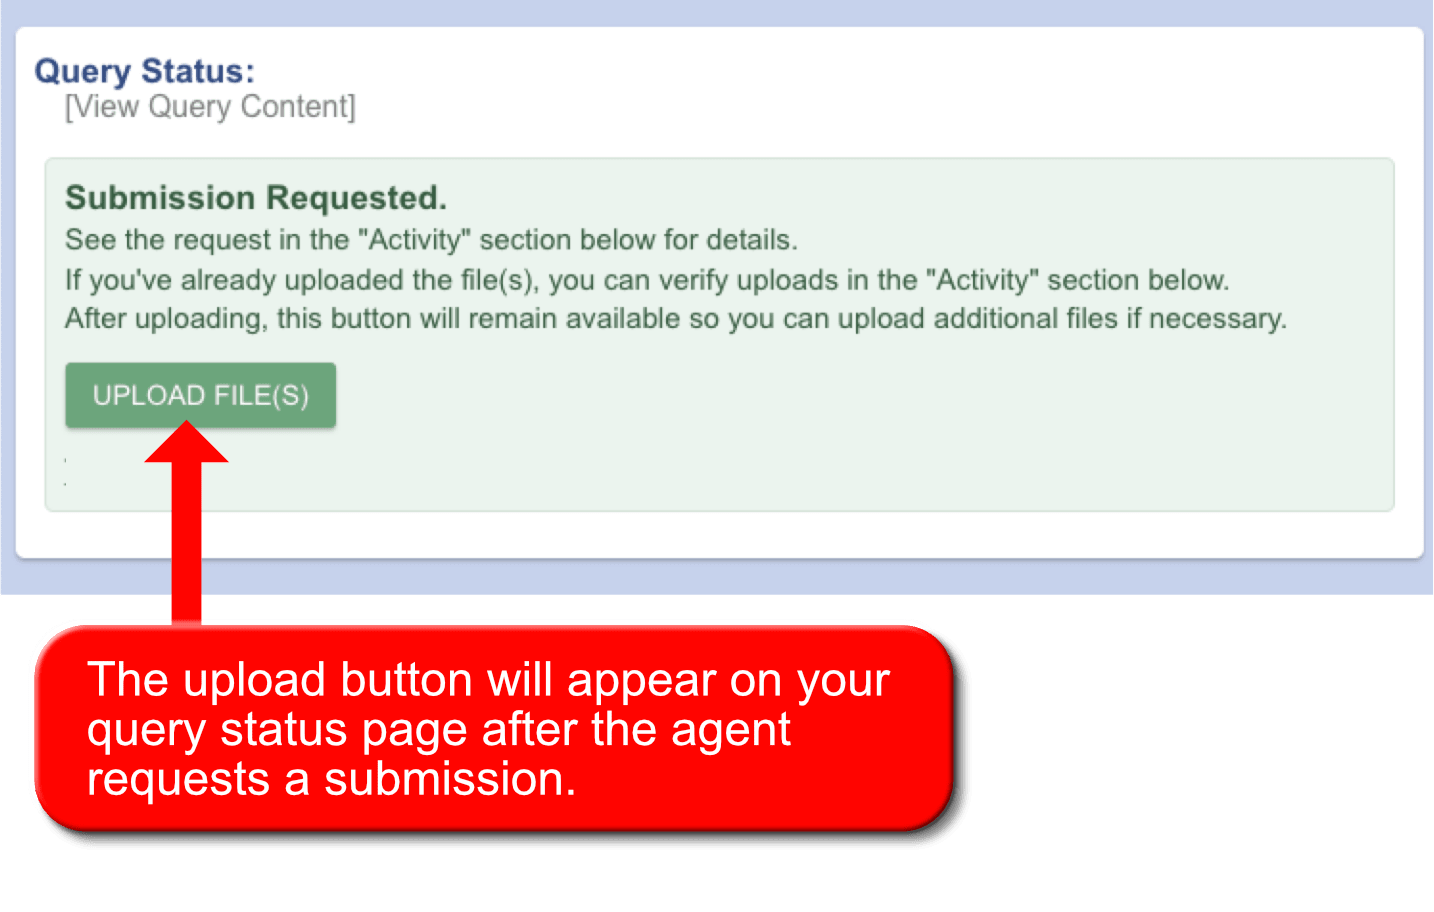
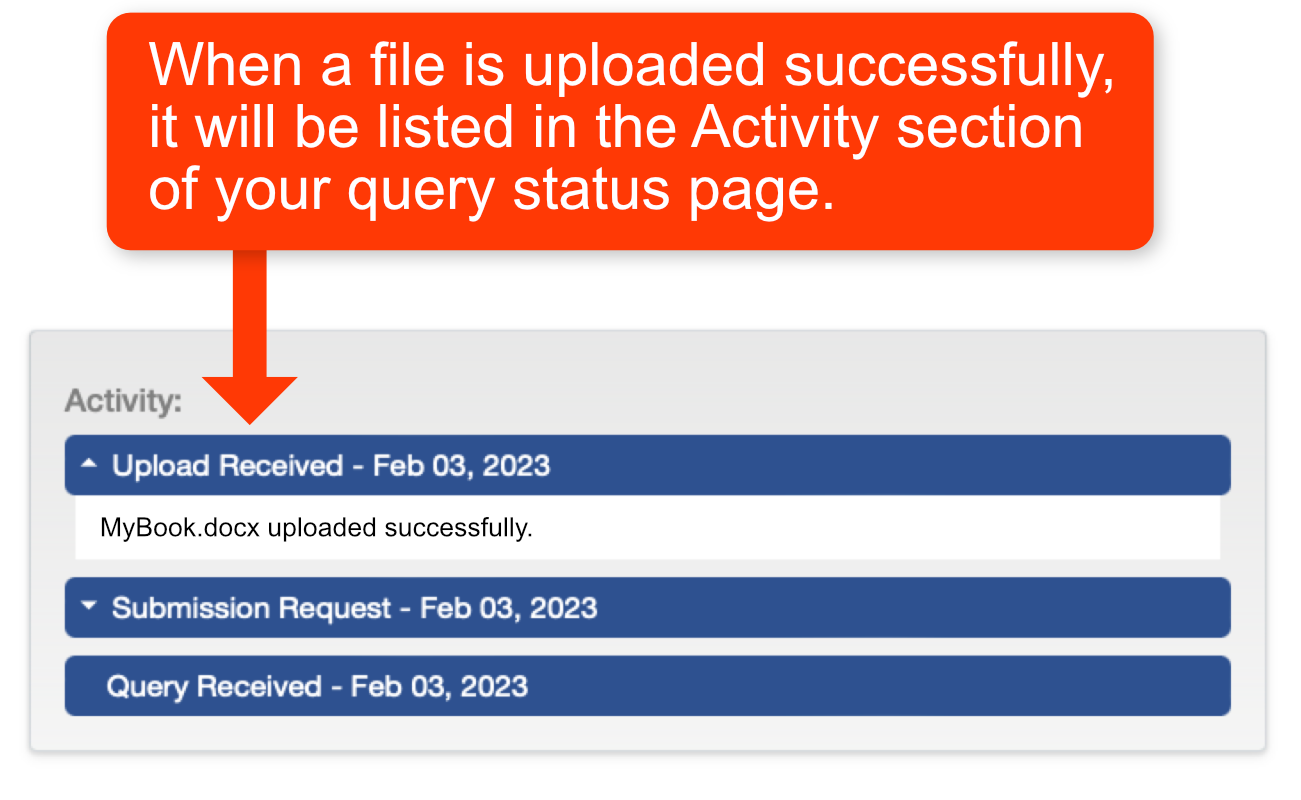
- If the agent replies to your query with a request for a file.