Query List

The Query List

Your query list is a list of agents who you want to query, or have already queried. Whenever you find an agents you want to query, you can save them to your query list. This makes it easier to view and segregate just the agents you are interested in.

Note: Though this tutorial references agents, the process is the same for publishers.

Tracking Queries

Tracking queries and keeping organized.
Viewing Your Query List

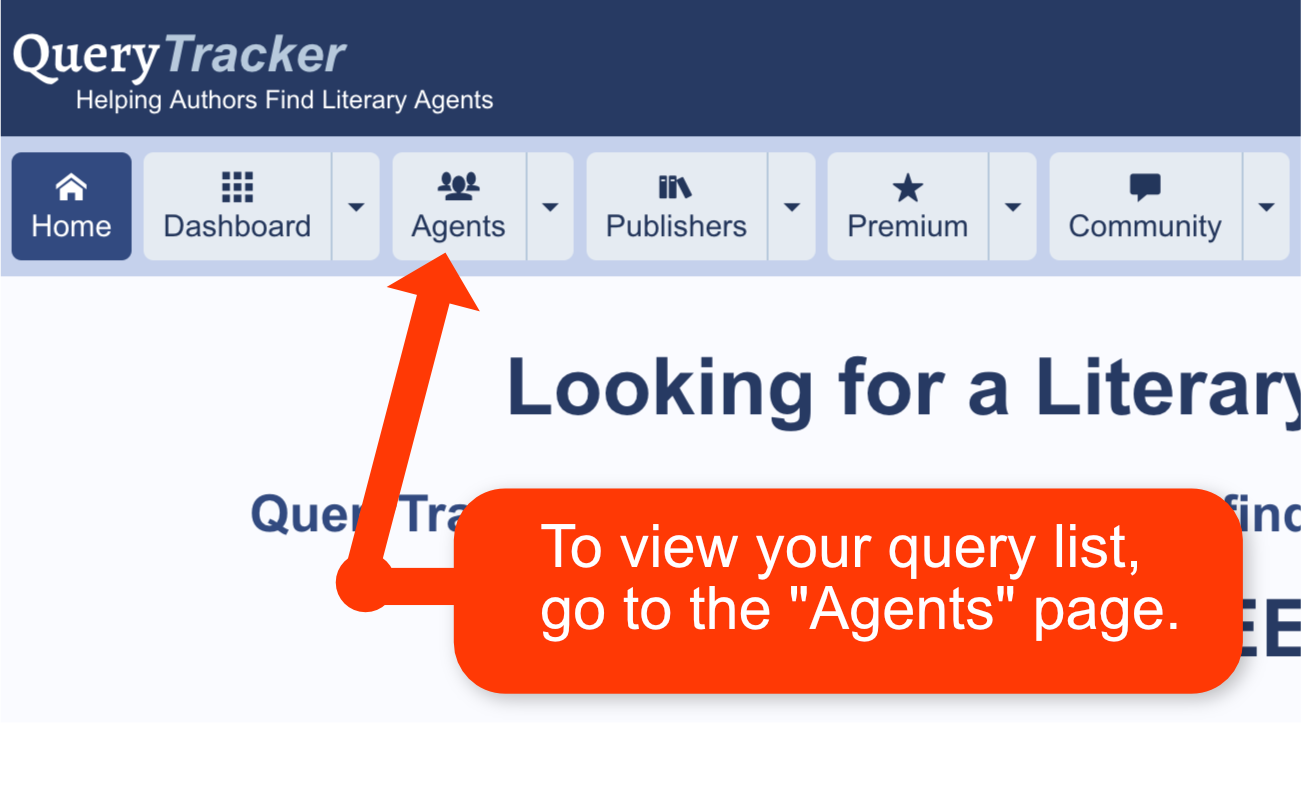
To view your query list, go to the Agents page.

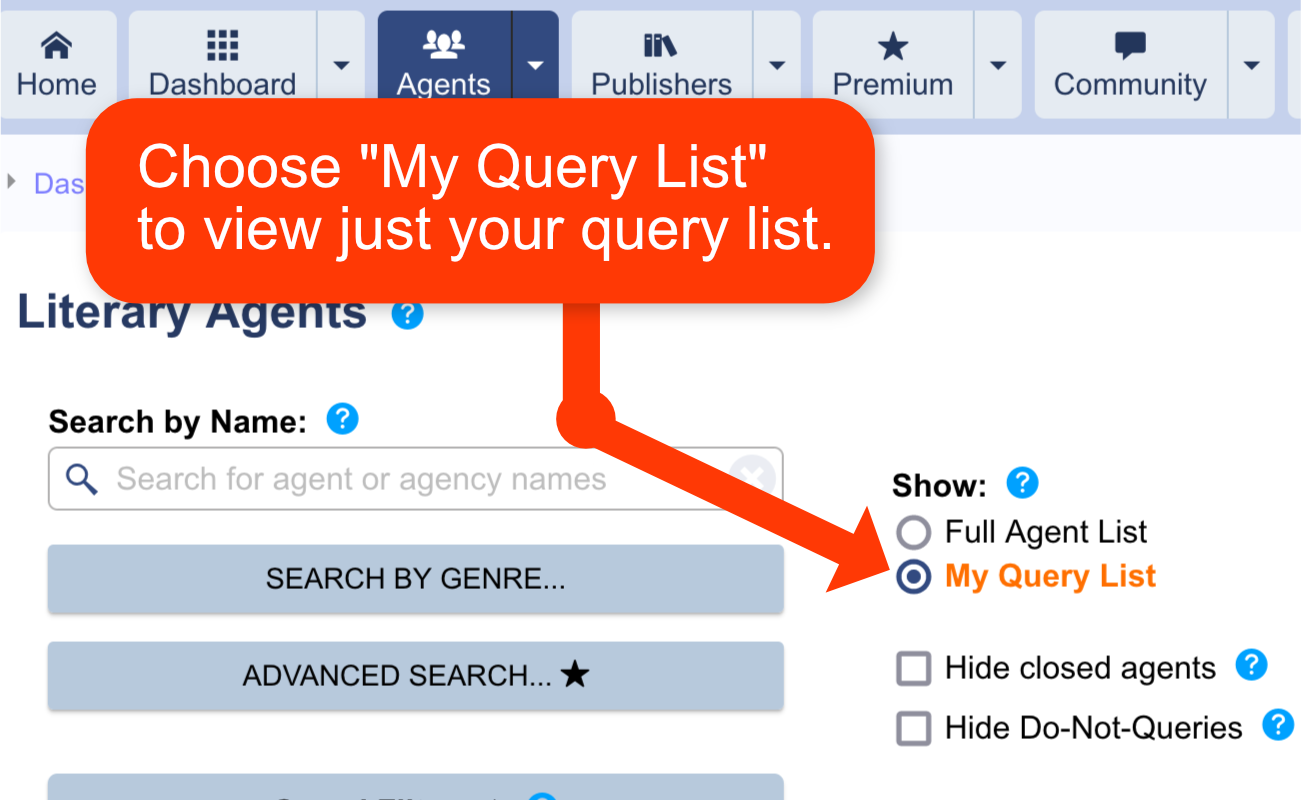
On the Agents Page, check the box to Show My Query List.

This will change the table of agents so it only shows the agents who are in your query list.

Note: The query list shown will be the quey list for the currently active project. (Projects are advanced tools to help you manage queries for more than one book. Learn more about projects.)

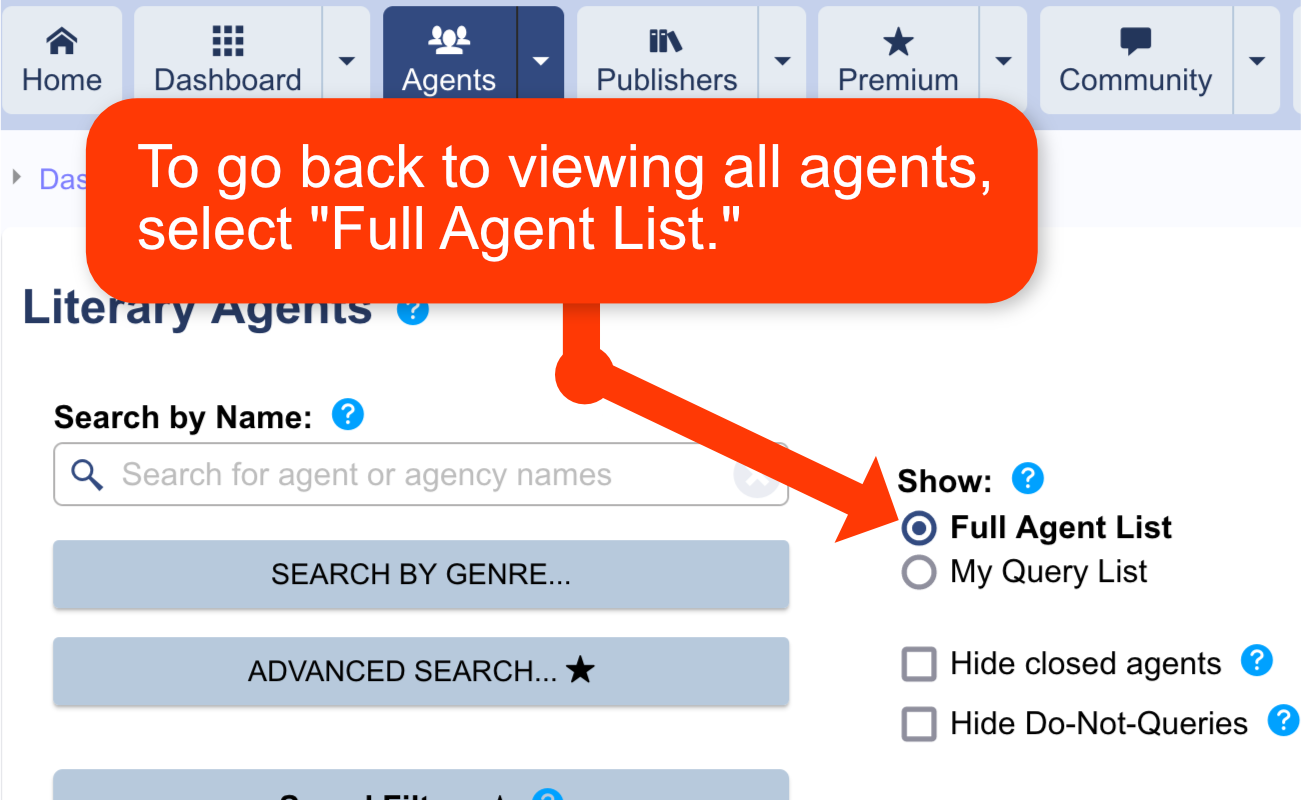
To change back to viewing the entire agent search list, check the box Show Full Agent List

This will change the table of agents so it shows all of the agents in the QT database, instead of just the agents in your query list.


Back to Top

Adding Agents to Your Query List

You can add an agent to your query list from either the agent search page, or the agent's profile page.

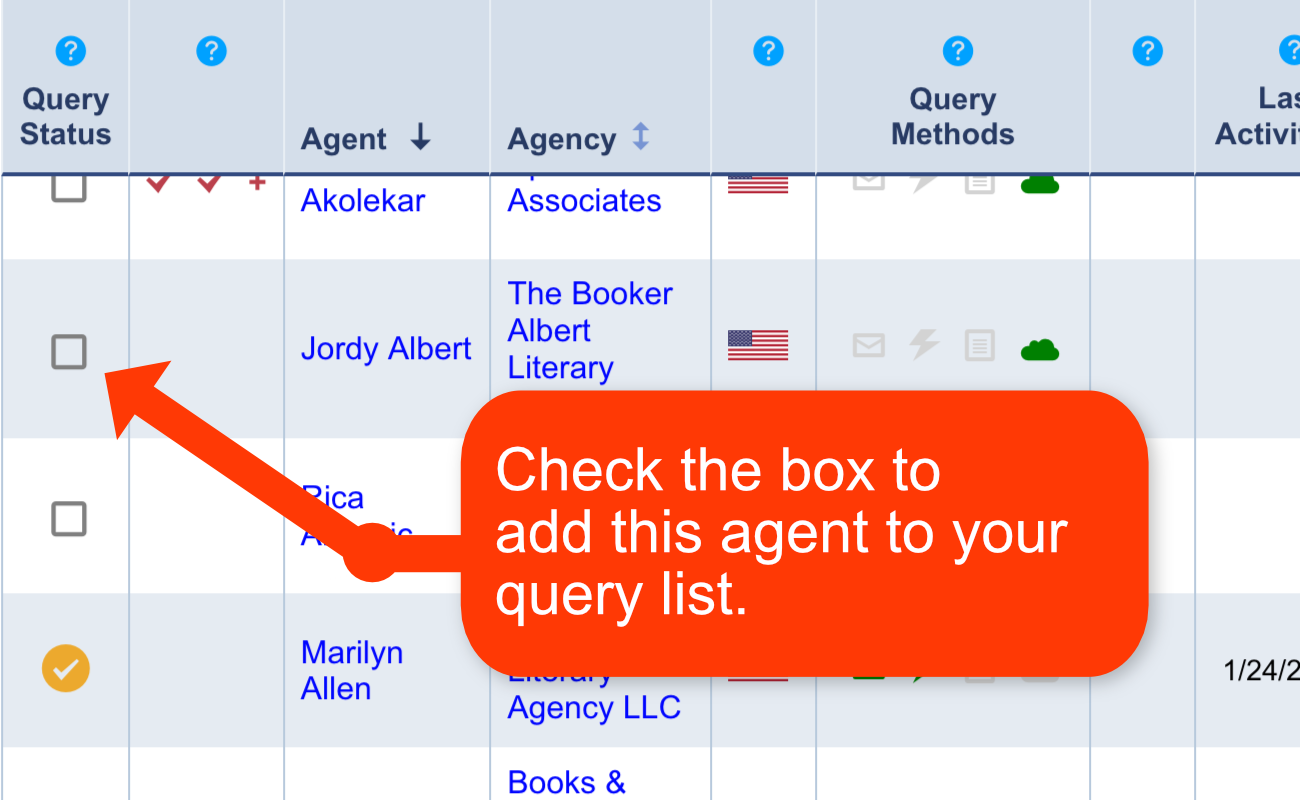
On the agent search page, check the box to the far left of the agent's name.

This will add the agent to the query list of your currently active project. (Projects are advanced tools to help you manage queries for more than one book. Learn more about projects.)

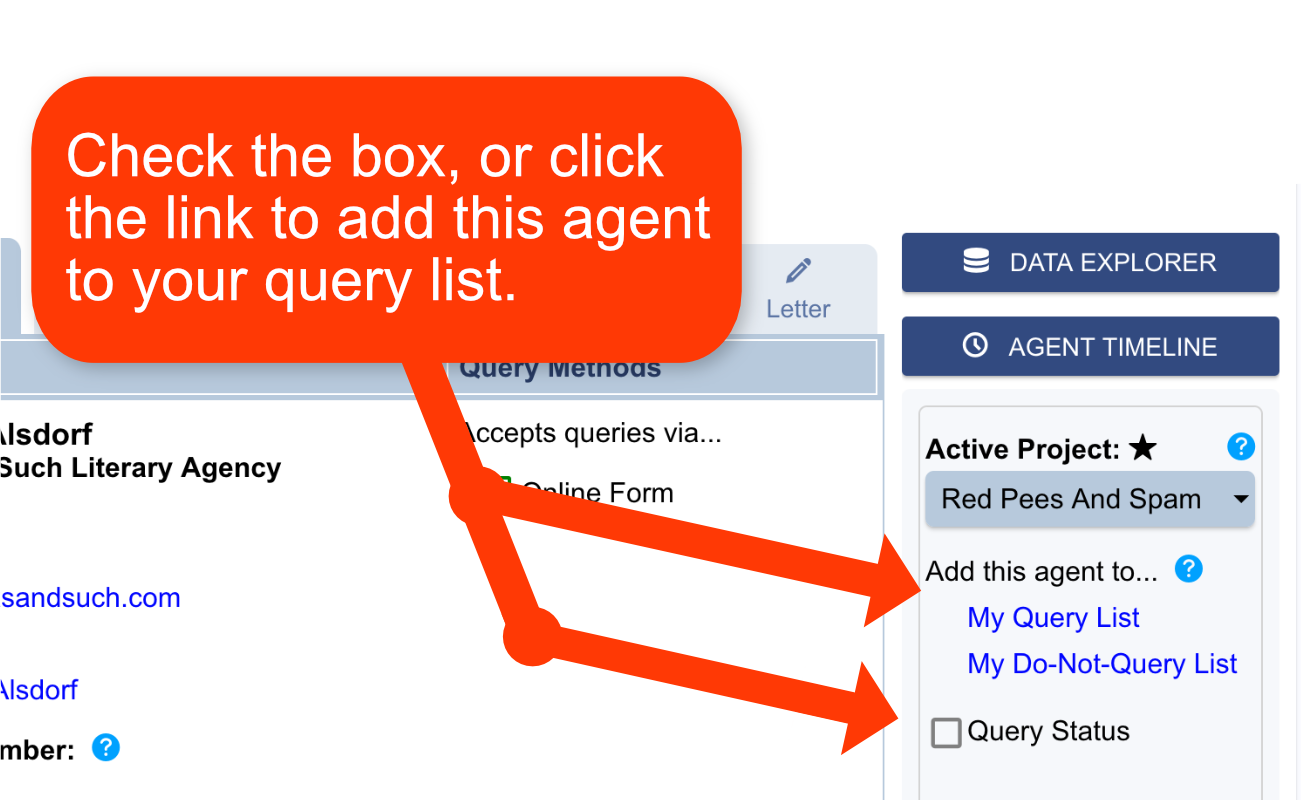
You can also add agents to your query list from the agent's profile page.

Check the Query Status box as shown in the image. This will add the agent to your query list. Or click the link, Add this agent to... My Query List

This will add the agent to the query list of your currently active project. (Projects are advanced tools to help you manage queries for more than one book. Learn more about projects.)

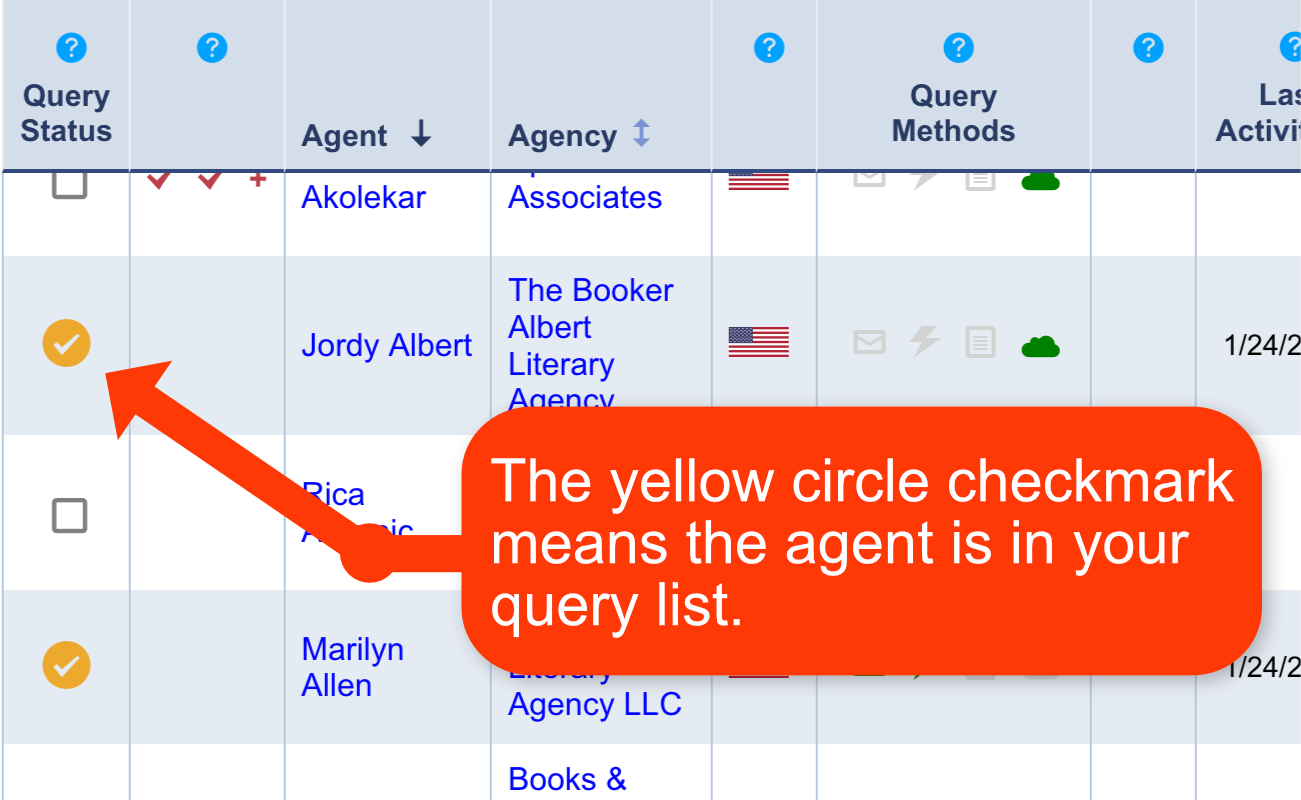
When you add an agent to your query list, the checkbox will change into the circle checkmark icon. Whenever you see this icon, it means the agent has been added to your query list, but an actual query has not yet been recorded.


Back to Top

Removing Agents From Your Query List

If you ever change your mind, and need to remove an agent from your query list, that is done from inside the Query Status Pop-up Window.

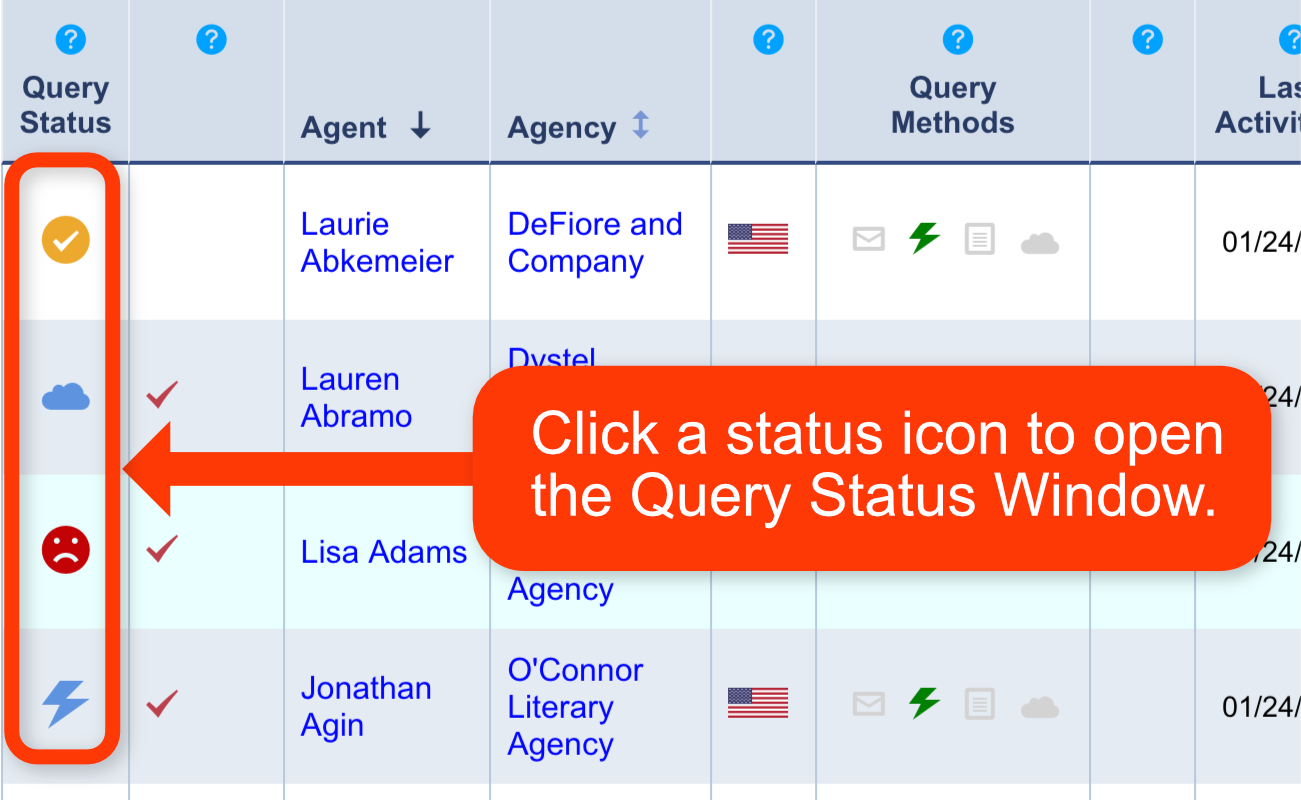
To access the Query Status Pop-up Window, click the quey status icon.

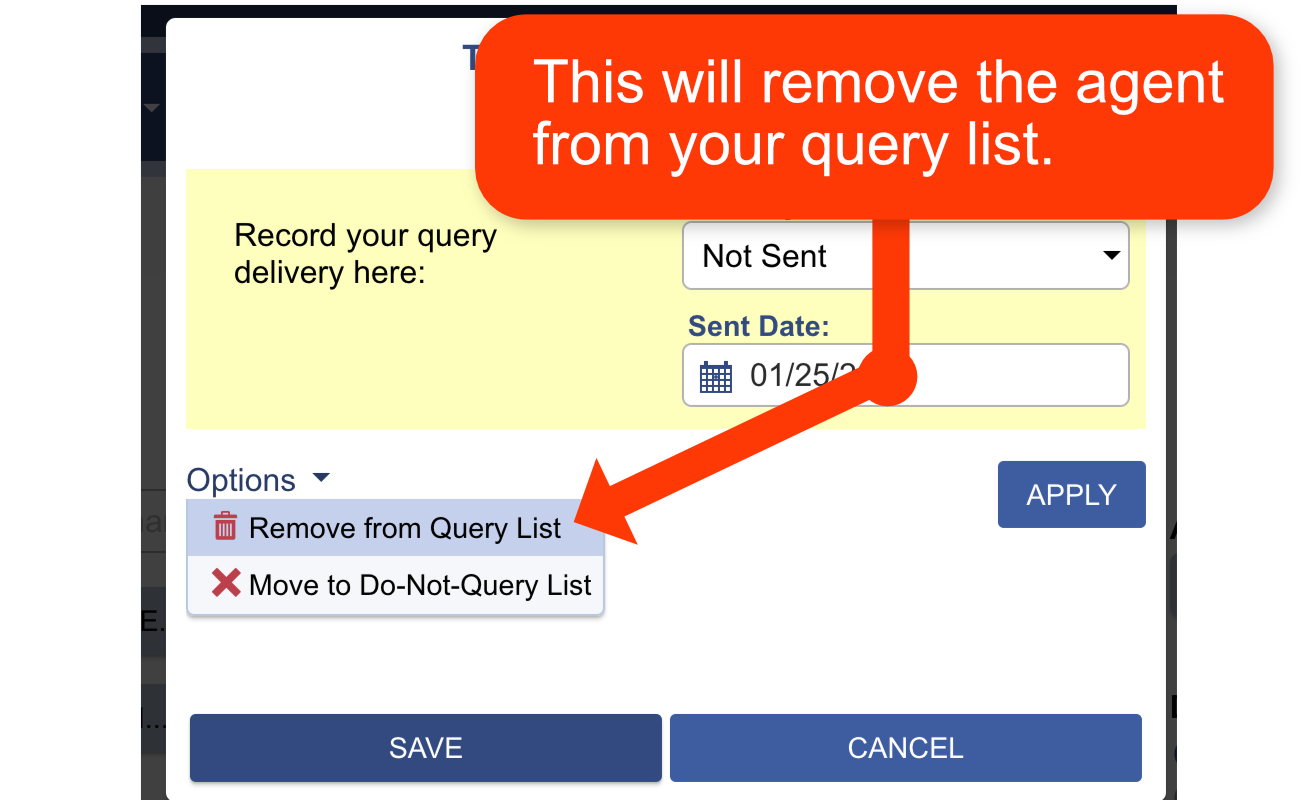
Inside the Query Status Window, choose the Option link, then choose Remove from Query List

Note: Removing an agent from your query list will erase all query data for that query.


Back to Top

The Do-Not-Query List

The Do-Not-Query List is a separate list of agents where you can place undesirable agents. These are the agents you have ruled out for some reason, and so do not want to query.

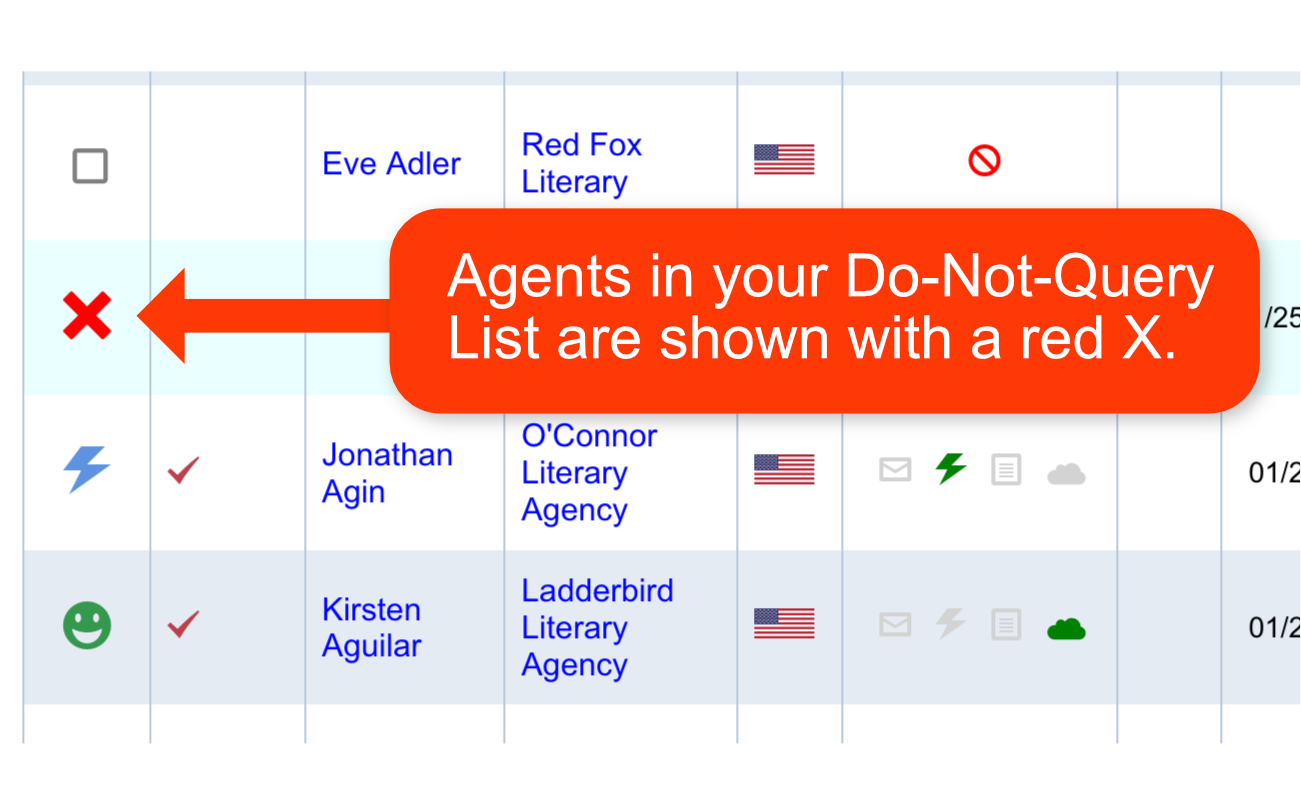
Agents in your Do-Not-Query List will be marked with a red icon so you'll always know that an agent has already been ruled out.

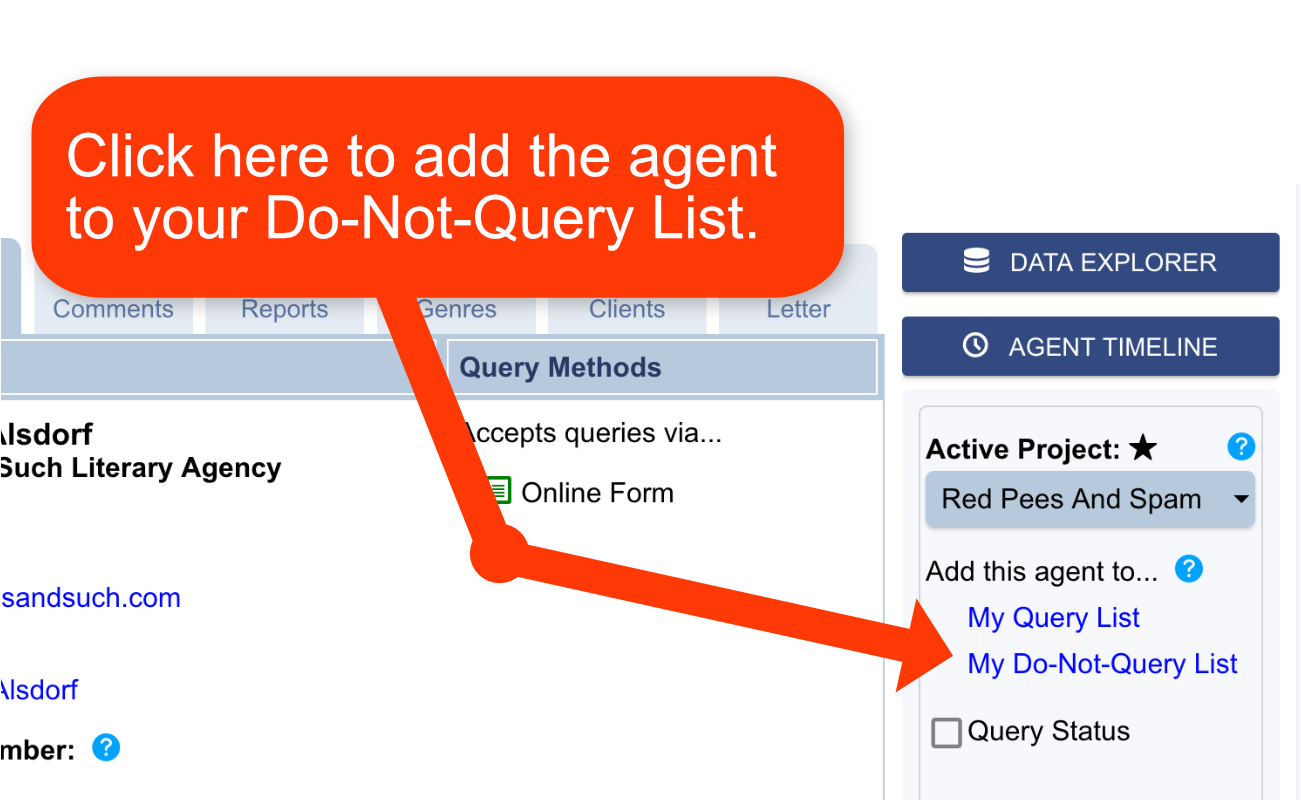
To add an agent to your Do-Not-Query List, go to the agent's profile page and click the link Add this agent to... My Do-Not-Query List


Back to Top